Sale Announcement: 2014 Black Friday / Cyber Monday sale in my Etsy Shop 50% off all kits from November 28th through to December 5th.
I've had the following blackboard/chalkboard backgrounds in my stash for a couple of years. They are a go to digital supply and one of my favorite design resources. You are welcome to use these in any of your commercial projects or just for your personal use. I included a useful variety - one PNG framed chalkboard, five 12x12 inch 300dpi backgrounds, and two 18x24 inch 300dpi backgrounds. I've created everything from little web ads to 18x24 poster prints using this set of backgrounds.
Hope you enjoy creating with these! Download them from mediafire HERE
Saturday, November 29, 2014
Wednesday, November 26, 2014
Chalkboard Holiday Tags Freebie and Holiday freebie kit roundup
I thought I would do a holiday freebie roundup plus a new set of freebies for this holiday season.
First up is a set of printable Chalkboard Holiday Tags. Preview picture is linked to the PDF download on MediaFire.
You can also download the chalkboard tags in jpeg format here
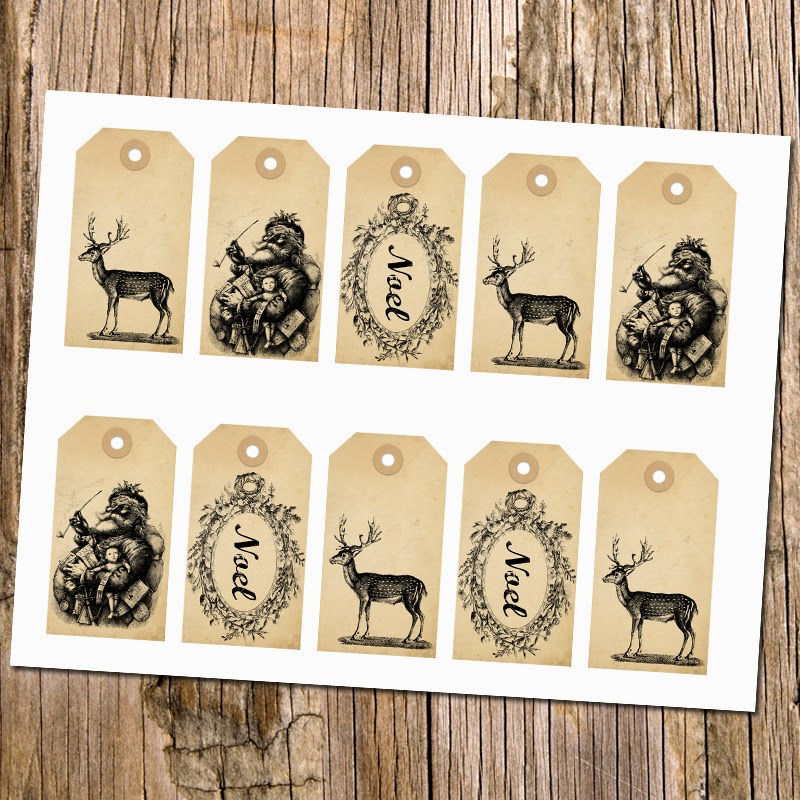
Here is the older set of holiday labels on vintage backgrounds. Download the PDF here.
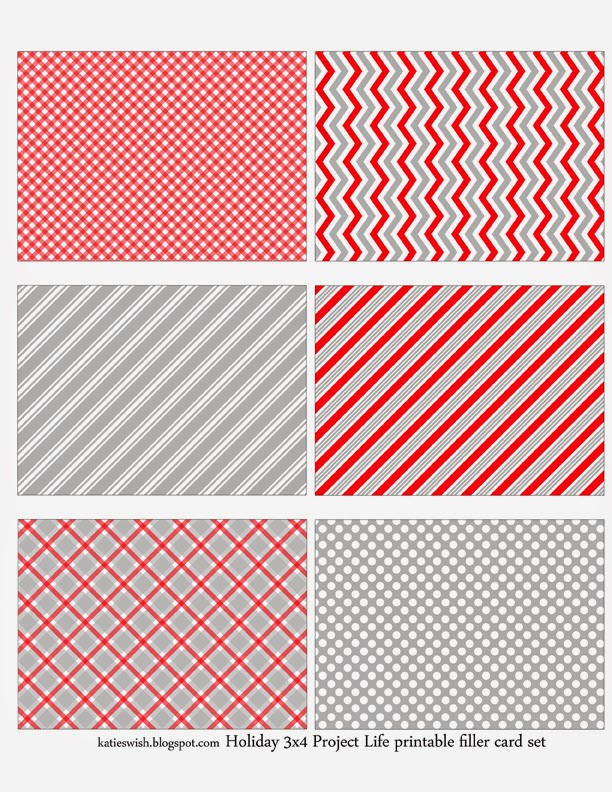
Now for some of my past holiday free goodies. Lots of December Daily printable cards for all of you who love to scrap using project life or use other pocket pages. The December Daily card previews are linked to the pdf files. I've added a couple of 4x6 title and filler cards sets to match.
First up is a set of printable Chalkboard Holiday Tags. Preview picture is linked to the PDF download on MediaFire.
You can also download the chalkboard tags in jpeg format here
Here is the older set of holiday labels on vintage backgrounds. Download the PDF here.
Now for some of my past holiday free goodies. Lots of December Daily printable cards for all of you who love to scrap using project life or use other pocket pages. The December Daily card previews are linked to the pdf files. I've added a couple of 4x6 title and filler cards sets to match.
3x4 Journal Cards
3x4 Filler Cards
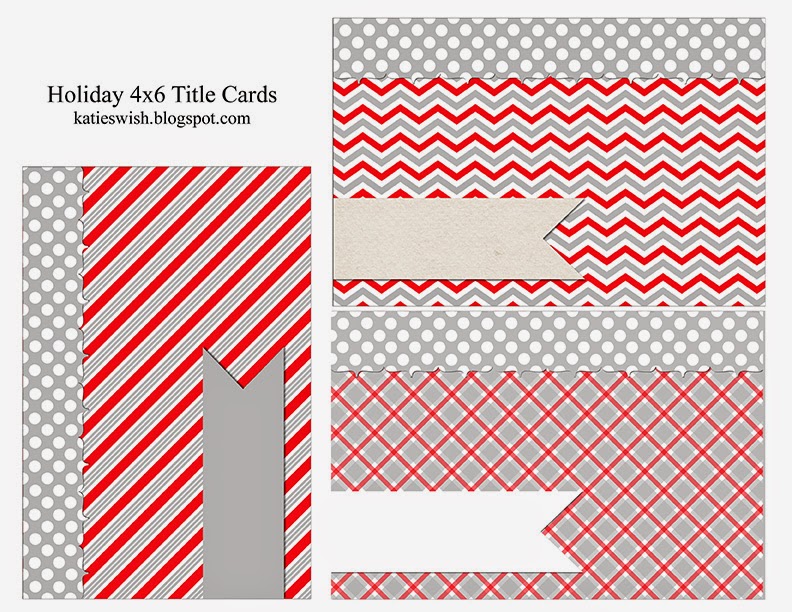
4x6 Title Cards
The following are new for 2014 matching 4x6 title cards
And new matching 4x6 filler cards
Here are some links to old posts where you can download some more holiday freebies:
Happy Holiday crafting everyone. I'll be back with a couple of new freebies throughout the weekend.
Please let me know of any broken links!
Monday, December 2, 2013
Recoloring PNG overlays in Photoshop
Here is the first in a series of tutorials to recolor png/psd transparent overlays. Other tutorials will follow for programs such as GIMP, Word, and Elements users.
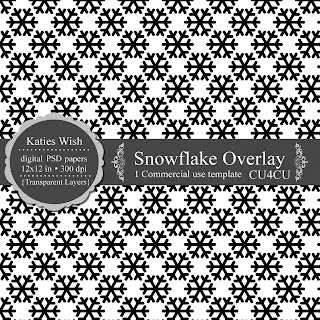
There will be a free overlay with each tutorial. Click HERE to download todays free PNG transparent overlay. It is commercial use friendly.
Once I have my transparent png open in Photoshop I like to go to Image>Mode and choose the color mode I would like to work with (RGB for printing on my home printer or CMYK for printing at my local Staples). Then I save my file with a new name so that I will always have my original overlay without any changes.
The next step is to choose the foreground color for the snowflakes. With the overlay layer selected go to Layer>New Fill Layer>Solid Color. Check off "Use Previous Layer to Create Clipping Mask" and then OK (If you forget to check the box choose the color layer then Layer>Create Clipping Mask). Now your snowflakes should be the foreground color on a transparent background. Now we will color the background. With the overlay layer selected, create a new layer. Drag this new layer to the bottom of the stack. Choose a color for the background and use the bucket tool to fill the layer. Save your file and you are done!
This is just one way to recolor the overlays. Get creative with adding texture layers to the snowflakes, or background, or both. With this layer "sandwich" you can quickly create a series of different colored snowflakes by simply using your bucket tool to fill the color layers any color or texture you want. You can get extra creative by playing around with the layer blending modes too.
Tutorial Summary:
1. Image>Mode>RGB Color
2. Choose color for the pattern
3. Layer>New Fill Layer>Solid Color check "Use Previous Layer to Create Clipping Mask">OK
4. Layer>New> Layer (uncheck "Use Previous Layer to Create Clipping Mask")
5. Drag newest layer to the bottom of the layer stack
6. Choose color to background layer
7. Use Paint Bucket to fill the background layer
8. Save
Enjoy creating!
There will be a free overlay with each tutorial. Click HERE to download todays free PNG transparent overlay. It is commercial use friendly.

The next step is to choose the foreground color for the snowflakes. With the overlay layer selected go to Layer>New Fill Layer>Solid Color. Check off "Use Previous Layer to Create Clipping Mask" and then OK (If you forget to check the box choose the color layer then Layer>Create Clipping Mask). Now your snowflakes should be the foreground color on a transparent background. Now we will color the background. With the overlay layer selected, create a new layer. Drag this new layer to the bottom of the stack. Choose a color for the background and use the bucket tool to fill the layer. Save your file and you are done!
This is just one way to recolor the overlays. Get creative with adding texture layers to the snowflakes, or background, or both. With this layer "sandwich" you can quickly create a series of different colored snowflakes by simply using your bucket tool to fill the color layers any color or texture you want. You can get extra creative by playing around with the layer blending modes too.
Tutorial Summary:
1. Image>Mode>RGB Color
2. Choose color for the pattern
3. Layer>New Fill Layer>Solid Color check "Use Previous Layer to Create Clipping Mask">OK
4. Layer>New> Layer (uncheck "Use Previous Layer to Create Clipping Mask")
5. Drag newest layer to the bottom of the layer stack
6. Choose color to background layer
7. Use Paint Bucket to fill the background layer
8. Save
Enjoy creating!
Saturday, November 2, 2013
Happy Digital Scrapbooking Day
Happy international Digital Scrapbooking Day everyone! To celebrate international Digital Scrapbooking Day I have a new freebie for everyone and a sale in my etsy shop KatiesWish for 40% off from November 2nd 2013 through to November 15th 2013.
Over the next few days I will be posting some new tutorials on how to use my digital overlays in several different programs from Photoshop to GIMP. I've had lots of questions on how to recolor or use the transparent overlays. A free overlay will be available for download with each tutorial post.
First a free 12x12 digital paper kit to celebrate iDSD. Commercial Use allowed but please do not redistribute as is. Download the free Faux Bois kit here from Mediafire. Enjoy!
Over the next few days I will be posting some new tutorials on how to use my digital overlays in several different programs from Photoshop to GIMP. I've had lots of questions on how to recolor or use the transparent overlays. A free overlay will be available for download with each tutorial post.
First a free 12x12 digital paper kit to celebrate iDSD. Commercial Use allowed but please do not redistribute as is. Download the free Faux Bois kit here from Mediafire. Enjoy!
Thursday, July 25, 2013
Thinking inside the box
A Christmas in July sale wouldn't feel right without a few free gifts. I've been collecting lots of boxes lately...cereal boxes (we love our cereals), frozen pizza boxes, waffle boxes, and cracker boxes. When you cut these boxes apart...they each have their own krafty goodness inside them. After scanning them and cropping them in Photoshop they make great textured backgrounds. A few other papers were added...and a couple of pictures of the wood shed too. I then combined a few of my chevron overlays and these cardboard textures to create another free set for you. All are for personal or commercial use. But I couldn't stop there. My daughter and I have been playing around with paints lately...her current favorite paints are watercolors. Lots of watercolor experiments have been happening around here. I made some drip, splatter, and spritzed Photoshop brushes to go along with these kraft backgrounds. I just love this look! My daughter had lots of fun spritzing her papers too. The brushes were created in PS CS6 and tested in Elements 11. They are all 2500px or less. I also included most of the brushes in black transparent PNG format (24 pngs in total). The preview only shows a few of the brushes in this set. All are high quality created at 300dpi for print. Enough of the technical stuff and on to the free gifts!
Download the free texture backgrounds HERE from Mediafire
Download the free Krafty Chevron backgrounds HERE from Mediafire
Download the free Photoshop Ink Brushes HERE from Mediafire
Hope you enjoy creating with these as much as I had making them. Please do not redistribute as is...work them into your own projects.
Saturday, May 4, 2013
iNSD Freebie Kit
Subscribe to:
Posts (Atom)