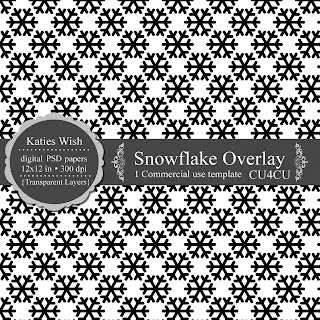
There will be a free overlay with each tutorial. Click HERE to download todays free PNG transparent overlay. It is commercial use friendly.

The next step is to choose the foreground color for the snowflakes. With the overlay layer selected go to Layer>New Fill Layer>Solid Color. Check off "Use Previous Layer to Create Clipping Mask" and then OK (If you forget to check the box choose the color layer then Layer>Create Clipping Mask). Now your snowflakes should be the foreground color on a transparent background. Now we will color the background. With the overlay layer selected, create a new layer. Drag this new layer to the bottom of the stack. Choose a color for the background and use the bucket tool to fill the layer. Save your file and you are done!
This is just one way to recolor the overlays. Get creative with adding texture layers to the snowflakes, or background, or both. With this layer "sandwich" you can quickly create a series of different colored snowflakes by simply using your bucket tool to fill the color layers any color or texture you want. You can get extra creative by playing around with the layer blending modes too.
Tutorial Summary:
1. Image>Mode>RGB Color
2. Choose color for the pattern
3. Layer>New Fill Layer>Solid Color check "Use Previous Layer to Create Clipping Mask">OK
4. Layer>New> Layer (uncheck "Use Previous Layer to Create Clipping Mask")
5. Drag newest layer to the bottom of the layer stack
6. Choose color to background layer
7. Use Paint Bucket to fill the background layer
8. Save
Enjoy creating!

No comments:
Post a Comment